Support 1.1
Here you will find a selection of software and downloads that will assist with the installation and running of the GENEActiv 1.1.
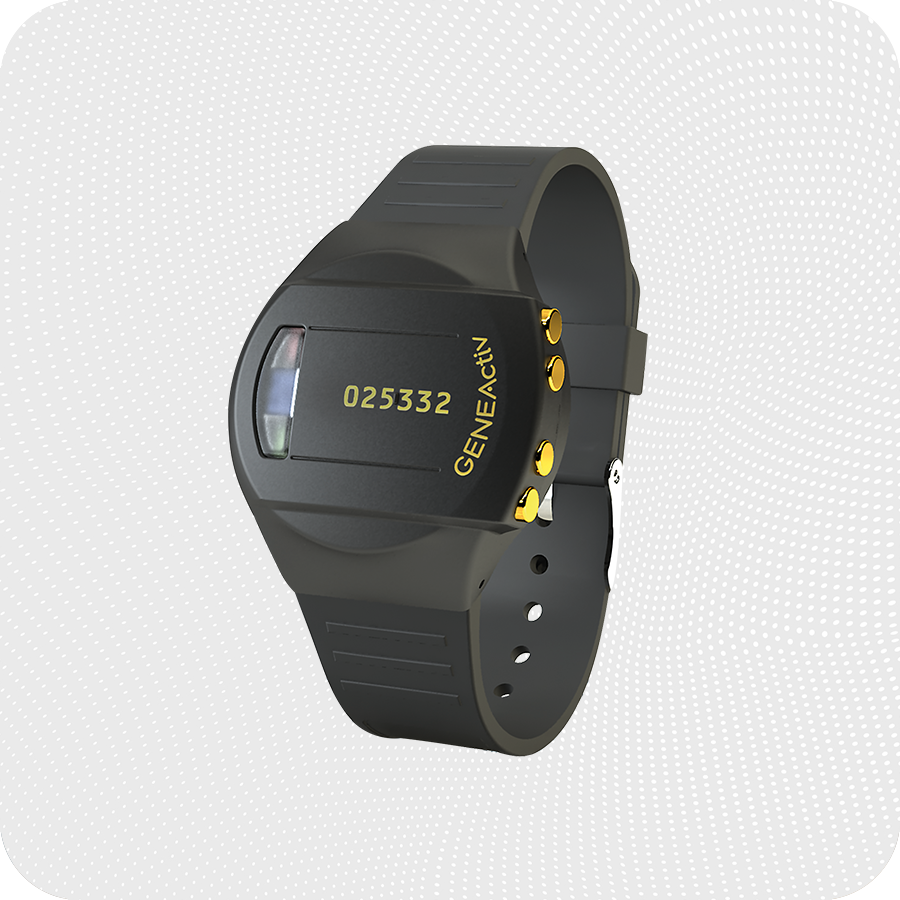
This support page is for GENEActiv 1.1. To check if you are on the correct support page, look at the serial number on your device. Should the serial number start with 0xxxxx then it is a GENEActiv 1.1.
GENEActiv 1.2 have serial numbers that start with 1xxxxx and that support page can be found here.
If you require more support or wish to place an order, please contact us.

FAQs
Have questions? No problem, you’ll be able to find all the information you need below.
Hardware FAQs
For Practitioners
Once you have received your GENEActiv device(s), allow them to fully charge in the cradle for 3 hours before configuring with the software.
This can be done via the USB port on your computer or using a USB wall plug. We recommend using a wall plug when charging your devices so that it does not interfere with the GENEActiv software. It is essential that the power supply provides 500mA on every port to ensure the devices fully charge.
A red light on the device will indicate that the device is charging. After 3 hours, a green light will flash. This indicates that you can now connect the device to the software to ensure the battery is full and the device is ready for configuration. The LED lights are just visual indicators – it is essential to check the battery level in the GENEActiv PC software for a reliable reading. When fully charged, unplug, and remove from the cradle if not configuring straight away.
It is important that GENEActiv devices are charged every 2 months for 3 hours to maintain good battery health, even when not in use. IMPORTANT: DO NOT leave GENEActiv devices on charge for longer than 3 hours at a time. Following a full 3 hour charge, the GENEActiv should have over 90% battery prior to deployment.
For Participants
Once you have received your device from your practitioner, you will not need to charge it. This will have already been done for you and the battery will last for the duration of the study.
When a unit is placed in the cradle and it is charging correctly the red light will flash (for 3 hours). The LED light will flash red or green to indicate it is charging. Any other LED light activity or inactivity indicates that the unit is not correctly seated in the cradle and the unit should be removed and then replaced.
Once the unit has been fully charged for 3 hours, the battery status should be checked by the software. It is then ready for immediate configuration and deployment. Otherwise, it should be removed from the cradle for storage.
The battery life of GENEActiv is determined by the measurement frequency selected to record. For example, recording at 100Hz lasts for 7 days and 20Hz records for 30 days.
It is important that GENEActiv devices are charged every 2 months for 3 hours to maintain good battery health, even when not in use.
Typically, most studies are carried out with the device worn on the wrist. However, we offer different strap options in a range of materials so that the device can be used in multiple body locations including waist, ankle and chest.
To clean the GENEActiv, wipe with a cloth or scrub with a soft bristle brush using warm soapy water or a mild detergent solution and allow to air dry. Alcohol wipes and mild sterilising solutions are also appropriate.
To disinfect the GENEActiv, use a Clinell Universal Wipe or equivalent product. Thoroughly cover and wipe the device so all surfaces are wetted. Ensure the device is allowed time to air dry completely before next use. Change the wipe if it becomes dry or soiled and dispose of it appropriately.
If the GENEActiv is excessively soiled, we recommend removing the wrist strap to clean the parts separately. Should wrist straps become increasingly worn, additional straps can be purchased and easily replaced.
The charging cradle can be cleaned with a dry cloth.
GENEActiv units should be stored at temperatures between 5-35 degrees Celsius to ensure optimal battery life.
IMPORTANT: It is important that GENEActiv devices are charged every 2 months for 3 hours to maintain good battery health, even when not in use.
The software may not recognise the device due to lack of charge, a poor connection or because the device has gone into reset mode.
The GENEActiv includes protective circuitry which prevents it connecting to the GENEActiv PC Software if the battery is not sufficiently charged. This prevents data loss which could occur if the GENEActiv battery ran out of power during extraction. Ensure the GENEActiv is regularly charged to allow it to connect to the software on demand. Please see {Link to ‘how to charge my device’} for best practice on charging the GENEActiv.
The device may not be connecting due to one of the following three reasons:
Insufficient Battery
There is insufficient battery life in the device. This is prevalent in devices that have not been charged or used regularly and it may have gone into reset mode. Charging a device once may not be enough to take it out of reset mode.
Poor Connection
The GENEActiv charges and connects to the software through the gold contacts on the device and the gold pins in the charging cradle.
- Ensure all 8 contacts and pins are clean and free from any residue. Please see our cleaning guidance here {Link to the cleaning FAQ above}.
- Try removing and re-entering the device into the charging cradle. The device needs to be seated correctly and should clip into the charging cradle with an audible click.
- Try a different position in the charging cradle as any damage or wear to the gold pins or clear plastic clips on the charging cradle may impair the connection.
- Do NOT move or disturb the cradle whilst connected to the PC software or whilst charging.
USB Error
If neither the battery nor connection are the cause, the device may have seen a rare USB error. USB errors are often accompanied by a constant red light on the device.
There is a simple process that can be followed to take the device out of reset mode. This should not affect the data on the device and once out of reset mode, data should be available to download as normal.
- Give the device(s) a full charge by placing it in the charging cradle for 3 hours (preferably via a USB wall plug).
- Once complete, remove the device(s) from the charging cradle and set aside overnight (this is important).
- The next day, give the device(s) a second full charge in the cradle for a further 3 hours.
- The device should now be out of reset mode. It should now connect to the software as intended. You can check the battery status of the device via the GENEActiv software.
- Once out of reset mode, you should complete a 7-day test by following the instructions below.
If you continue to experience issues with charging or connecting devices to the software please contact us via email {info@activinsights.com}.
Following a reset, how can I ensure my device is working correctly?
After resetting your device(s), we recommend that you carry out a 7-day test to ensure your device is collecting data correctly.
To do this, configure a fully charged GENEActiv to collect data at 100Hz for 7 days.
After 7 days of data has been collected, connect the GENEActiv to the software. Check that 90% of the memory has been used and that the device has an acceptable amount of battery left. We would normally expect devices to have around 40% battery remaining after a 7-day test (this may vary depending on the age of the device).
If both the battery and memory are working as expected, you can then reconfigure your device to be used again in the field.
Software & Apps FAQs
The GENEActiv software allows you to set up the device and extract raw data as a .bin file. The software offers capabilities to convert this into .csv compressed epoch files, which are readable in Excel. The raw data .bin files and .csv epoch files provide endless further analysis opportunities using analysis packages you are familiar with such as R and Matlab.
The download can take up to 20 minutes for 4 units with full data collection.
If you are having installation problems, follow the troubleshooting steps below:
- Download latest version of the GENEActiv software and drivers from our website and save them to your Desktop.
- Extract the folders to your Desktop and install the software
- Connect the cradle via the USB port
- Insert device into cradle
- Navigate to Drivers folder
- Double left click ‘install.bat’
If the device still does not appear in software, it is likely that the drivers have not installed correctly. If this is the case:
- Open Device Manager on your computer
- Find the GENEActiv device, which should be listed as Geneactiv_01
- Right click the device and select ‘Update Drivers’
- Point the installation dialog to the drivers folder on the desktop
- Drivers should then install
- Device manager should now list the device as GENEActiv V1.1
- The device should now appear in the software

Data Acquisition & Analysis
ActivInsights supports the analysis of data from our professional wearables and other connected devices.

Algorithm Development
ActivInsights’ long-standing commitment to open data formats and open algorithms has provided a platform for hundreds of algorithm developers to create new techniques.

Data Infrastructure
ActivInsights has secure, privacy-by-design data infrastructure to support the timely retrieval of data from the field and delivery of analysed outputs into studies.
How can we help you?
Our friendly team have extensive experience in remote monitoring technology and can advise you on what products and services will best suit your project needs. Contact us to discuss your requirements.


